



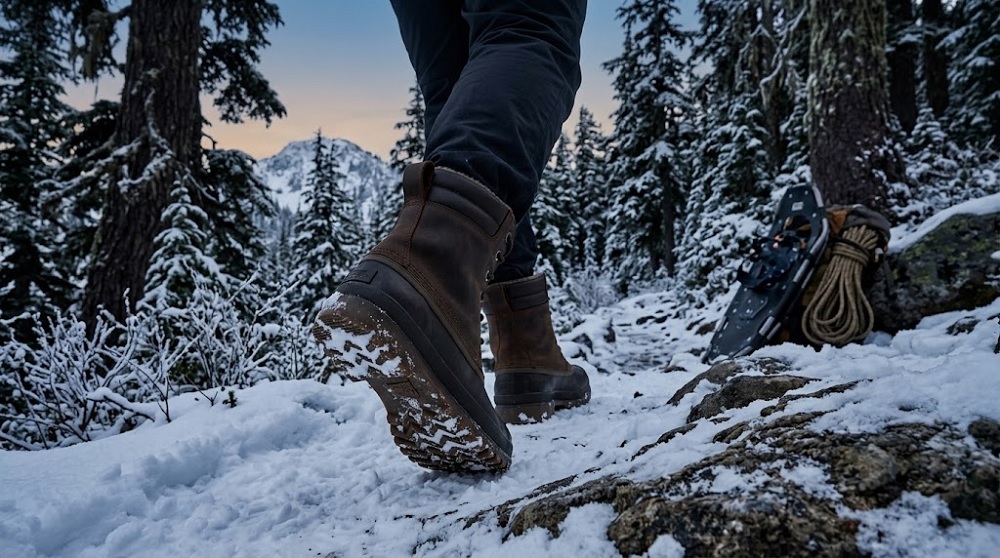
Picking up a used pair of boots is smart. You save money, skip the break-in period, and sometimes land a pair that would’ve cost twice as much new.
But used boots come with baggage: dried-out leather, failed seam sealing, and liners that smell like someone else’s hike.
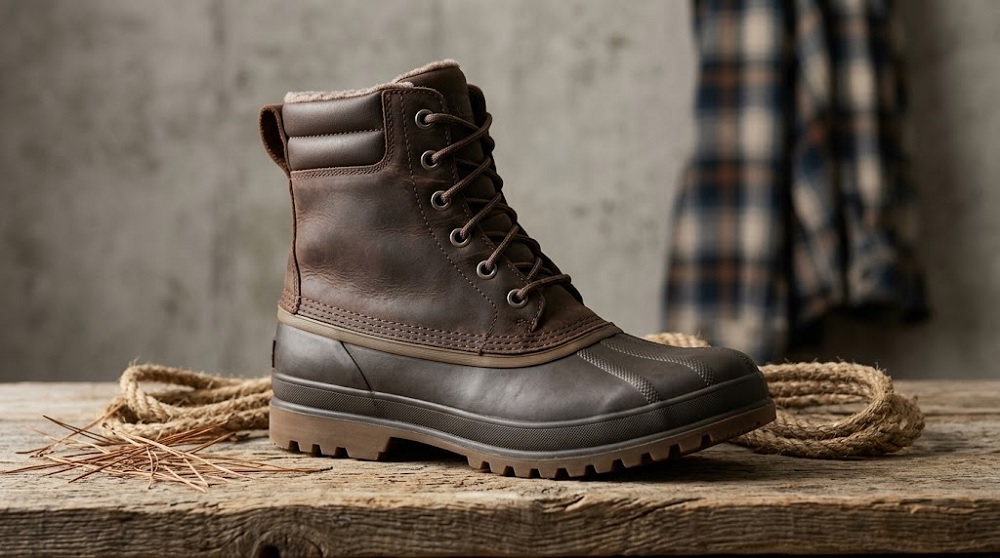
A good pair of sorel manitou boots, for example, can still have years of life left in them even after heavy use. They just need some work before you trust them in wet conditions again.
This guide walks you through exactly that.
What You Need Before You Start
Don’t skip this part. Gather everything first so you’re not stopping mid-process.
For conditioning:
- Leather conditioner (Leather Honey, Sno-Seal, or Obenauf’s Heavy Duty LP work well)
- Soft cloths or an old toothbrush
- Warm water
For re-sealing:
- Seam sealer (Gear Aid Seam Grip is a solid choice)
- Waterproofing spray or wax (match it to your boot material)
For liner cleaning:
- Mild soap or boot-specific cleaner
- A soft brush
- Baking soda or cedar shoe inserts
Step 1: Clean the Boots Thoroughly First
You can’t condition or seal dirty leather. The products won’t absorb properly, and you’ll just be locking in grime.
Knock off any dried mud with a stiff brush. Then mix a little mild soap with warm water and scrub the entire boot, including the welt (that’s the strip connecting the upper to the sole). Rinse with a damp cloth. Don’t submerge the boot.
Let them dry at room temperature. Keep them away from heaters or direct sunlight. Heat dries out leather fast, and it can cause the seams to crack before you’ve even started the restoration.
Step 2: Condition the Leather
Old leather on secondhand boots is usually dry. You’ll see it in the surface: faded color, slight cracking, a chalky look in places.
Conditioning brings the leather back to life. It restores flexibility, which matters for comfort and waterproofing because cracked leather lets water in.
Here’s how to do it:
- Apply a small amount of conditioner to a soft cloth
- Work it into the leather in circular motions, covering the full surface
- Pay extra attention to flex points (the toe box and ankle area)
- Let it absorb for at least 30 minutes
- Wipe off any excess with a clean cloth
Do this once. If the leather still looks thirsty after it dries, do a second pass. Two coats are usually enough for boots that have been neglected.
Step 3: Re-Seal the Seams
This is the step most people skip. The seams are where water gets in first, especially on older boots where the original factory sealant has worn away.
Hold the boot up to a light and look along every seam. If you see gaps, peeling, or white residue, the seam seal is gone.
To re-seal:
- Clean the seams with a cotton swab dipped in rubbing alcohol
- Let them dry completely
- Apply seam sealer with the brush or applicator tip, working it into the seam line
- Let it cure according to the product instructions (usually 8 to 12 hours)
Do the inside of the boot too if it’s accessible. A lot of moisture gets in through the interior seams near the heel and toe.
Step 4: Apply a Waterproofing Treatment
Once the leather is conditioned and the seams are sealed, you need to restore the DWR (durable water repellent) coating on the outer surface.
The right product depends on your boot material:
- Full-grain leather: Use a paste wax like Sno-Seal or Obenauf’s. Apply it warm if possible (a few minutes in the sun helps) and work it into the leather with your fingers or a cloth.
- Nubuck or suede: Use a spray-on waterproofer. Paste wax will darken the nap permanently.
- Synthetic or mixed materials: A spray works fine. Nikwax Boot and Shoe is a safe pick.
Apply the treatment, let it absorb, then buff off the excess. If you want to test it, splash some water on the boot surface. It should bead up and roll off. If it soaks in, do another coat.
Step 5: Clean the Liner
The liner is the part people forget. And it’s usually the worst part of a used boot.
Liners trap sweat, bacteria, and odor over months or years of use. Wearing secondhand boots without cleaning the liner is a reliable way to develop foot problems.
Here’s how to clean it:
- Remove the insole if it’s removable and wash it separately with mild soap and water
- Mix a small amount of mild soap with warm water
- Use a soft brush to scrub the inside of the boot, working from the toe to the ankle
- Rinse with a damp cloth until the soap is out
- Stuff the boots with newspaper to hold their shape and absorb moisture
- Let them dry fully before wearing (24 hours minimum)
If there’s still odor after drying:
- Pack the boots with baking soda overnight and shake it out in the morning
- Or use cedar shoe inserts, which pull moisture and neutralize smell over time
Step 6: Do a Final Waterproof Test
Before you take these boots out in the rain, test them.
Fill a shallow basin or bathtub with a few inches of cold water. Stand in it for about 30 seconds. Check the inside of the boot after. If it’s dry, you’re good. If it’s damp, go back and re-seal the seams and apply another coat of waterproofer.
This test tells you what no visual inspection can.
How Often Should You Repeat This?
A full restoration like this is a one-time job for most secondhand boots. After that, maintenance is simpler:
- Re-condition leather every 3 to 6 months depending on use
- Re-apply waterproofing at the start of each wet season
- Clean liners every few months or whenever you notice odor
- Check seams annually and touch up as needed
FAQ
Can I restore boots with cracked soles?
You can repair minor sole separation with boot repair adhesive like Barge Cement. Press the sole back together, clamp it or tape it tightly, and let it cure for 24 hours. Deep cracks in the rubber sole itself are harder to fix and may need a cobbler.
Do I need to remove laces before conditioning?
Yes. Take the laces out before you start. It gives you better access to the tongue and the eyelets, and you won’t get conditioner or sealant on the laces themselves.
What if the boots have a Gore-Tex liner?
The process is mostly the same. Condition the outer leather, re-seal the external seams, and apply a waterproofer safe for synthetic membranes. Avoid petroleum-based products on Gore-Tex. Nikwax is a reliable brand for this.
Is it worth restoring heavily worn secondhand boots?
Depends on the boot. If the sole is worn flat, the upper is cracking through, or the welt is separating significantly, restoration probably won’t get you another season of real use. But if the structure is sound and the issues are surface-level, a full restoration can easily give you 2 to 3 more years.
Can I use regular shoe polish on waterproof boots?
Avoid cream polish if your goal is waterproofing. Most cream polishes contain water, which can interfere with the leather’s ability to repel moisture. Use a wax-based conditioner or a product specifically made for waterproof footwear.
How do I know if the liner is synthetic or leather?
Most modern boots use synthetic liners. If it feels smooth and slightly plasticky, it’s synthetic. If it feels soft and textured like suede, it might be a leather or wool liner. Check the brand’s product page if you’re unsure. The cleaning method is similar either way, but leather liners benefit from a light conditioner after cleaning.